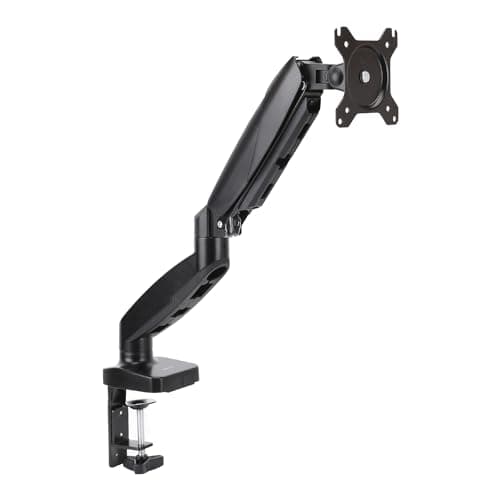
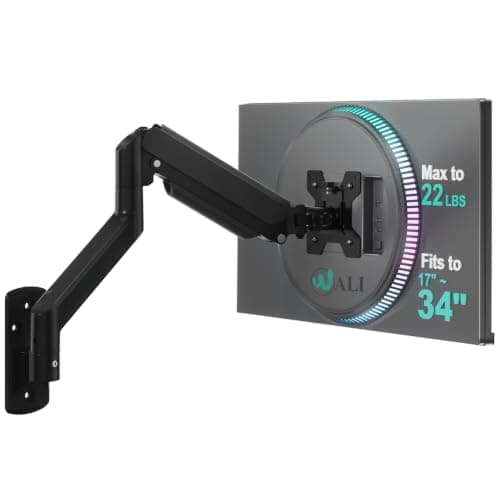
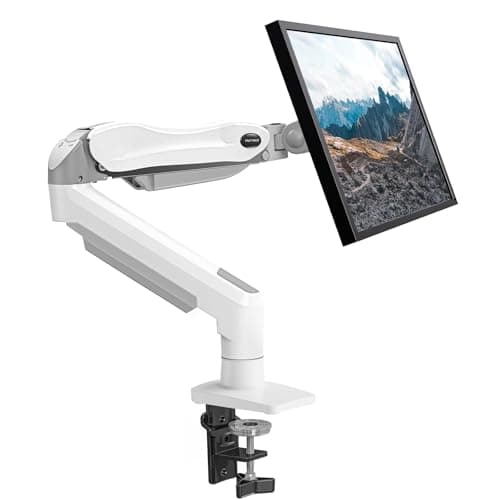
Install a monitor arm in this order and it takes about twenty minutes: base to the desk, cables through the arm, screen onto the plate, then set the spring. The single rule that prevents most of the swearing is the last one — the gas spring must be adjusted with the monitor already hanging on the arm, never before. Almost every “the arm sags” or “the arm floats up and will not stay down” complaint is an untuned spring, not a faulty one.
Before you start, two questions should already be answered. Will it fit your desk — thickness, material, clear rear edge? That is will a monitor arm fit my desk. Clamp or grommet? That is clamp vs grommet mounting. If your screen has no VESA holes at all, stop here and read how to mount a monitor without VESA first, because the adapter changes the whole procedure.
What you need, and what you do not
In the box: the pole or arm, a VESA plate, a C-clamp assembly, a grommet bolt and plate, a bag of VESA screws in two or three lengths, spacers, and one or two Allen keys. That is normally everything — you should not need a drill, and you should not need to buy screws. What is worth having to hand: a ruler, a soft towel or the monitor’s own foam to lay the screen face-down on, and a cable tie or two.
One thing people do buy unnecessarily: a screwdriver set. Monitor VESA screws are almost always M4, M6 or M8 metric machine screws driven by the supplied Allen key, not wood screws. If your arm came with a Phillips driver as well, it is for the clamp pad, not the screen.
Step 1: mount the base
Clamp:clear the back of the desk, slide the clamp over the rear edge with the upper pad on the top surface and the plate underneath, and tighten the knob by hand until the arm cannot be twisted by hand. That is the target — hand-tight and no further movement. Over-tightening a clamp is how laminate tops get crushed and how glass gets cracked; the bite that holds an arm is far less than most people apply. Nearly every arm includes a rubber or felt pad for the top jaw; use it, and if yours did not, a square of thin felt does the same job. The failure modes are covered in will a monitor arm damage my desk.
Grommet:drop the bolt through an existing cable hole, fit the plate and washer underneath, and tighten. Check the published grommet range first — it is narrower than the clamp range on most arms, because the bolt is a fixed length. A thick top often rules the grommet out entirely; see arms for thick desks.
Either way, mount the base before the arm goes on it. A pole-style arm is far easier to position with no weight on it, and a one-piece arm is easier to lift into place with the screen off.
Step 2: route the cables first
This is the step everyone skips and then undoes. Feed the display cable and the power lead through the arm’s channels or clips before the screen goes on, leaving a deliberate service loop at the elbow so the cable does not go taut at full extension or full height. If the arm has snap-on covers, leave them off until the end. Doing this after the monitor is mounted means working one-handed behind a hanging screen, which is how cables get pinched in a joint.
Step 3: the VESA screws, and which one to use
Lay the monitor face-down on a towel. Find the four holes on the back — 75 mm apart for small panels, 100 mm for most, 200 mm on some large ones. Hold the plate up and pick the screw that engages four or five full turns without bottoming out. Too short and it strips; too long and it either will not seat or, on a plastic-bodied panel, pushes against the internals. If the screw will not reach, that is what the spacers in the bag are for: the recessed-hole case, where the panel is thicker around the holes than the plate expects.
| Thread | Usually found on | Note |
|---|
| M4 | 75 x 75 mm patterns, small panels | Most common on 19–24 in screens |
| M4 or M6 | 100 x 100 mm patterns | Try M4 first; M6 on heavier panels |
| M8 | 200 mm patterns, large or heavy panels | Check the arm supports the pattern at all |
Tighten firmly but not hard. These screws go into threaded inserts in a plastic or thin metal housing, and stripping one is the only genuinely expensive mistake available in this procedure. If a hole is already stripped, do not substitute a longer screw — use the VESA adapter route instead.
Step 4: hang the screen, then set the spring
Most arms use a quick-release: the plate hooks onto the arm head and a captive screw locks it. Support the screen until you hear it seat and the lock is tightened — this is the one point in the job where a second pair of hands helps, and with anything over about 20 pounds it is close to mandatory.
Nowadjust the tension. Find the spring screw (usually marked with + and − arrows on the arm body), set the screen to the middle of its travel, and turn the screw until the panel stays exactly where you leave it. Clockwise for more lift if it sags, counter-clockwise if it drifts upward. Move it to the top and the bottom of the travel and re-check; a correctly set arm holds position anywhere in its range with no drift in either direction. Expect to need several turns, and expect it to feel like a lot of turns — that is normal.
Step 5: set the position, properly
With the arm working, set the screen where it should actually be: top of the display at or just below seated eye level, panel about an arm’s length away, tilted back a few degrees so the surface is square to your line of sight. Those targets and the reasoning are in monitor size and distance for small desks. The whole point of the arm is that the screen now goes where your body wants it rather than where the base allowed — and the desk depth the base was using is yours again.
Dual arms: what changes
The procedure is the same with two extra rules. Assemble both arms on the pole before you hang either screen, because adding the second arm later means working around a mounted monitor. And set each spring independently with only that screen attached— a dual mount with one screen on is badly out of balance, so if you only ever plan to run one, buy a single arm rather than half-loading a dual. On a small desk two single arms on two clamps is often the better answer anyway, and dual arm vs two single arms makes the case.
Five things that go wrong, and the fix
| Symptom | Cause | Fix |
|---|
| Screen slowly sags | Spring set too loose for the panel | Tighten the tension screw with the screen on |
| Screen floats up, will not stay down | Spring too strong, or the panel is below the arm’s minimum load | Loosen the screw; check the arm’s published minimum |
| Arm twists on the desk | Clamp not seated squarely, or pad missing | Re-seat flat on the edge; fit the pad; hand-tighten |
| VESA screws will not reach | Recessed holes on the panel | Use the supplied spacers, not longer screws |
| Cable pulls tight at full height | No service loop left at the elbow | Re-route with slack; this is why routing comes before the screen |
How tight is the clamp meant to be?
Tighter than finger-light, looser than you think. The test: with the arm mounted and no screen on it, try to twist the arm around the clamp by hand. If it does not move, it is tight enough. Going further does not increase holding force meaningfully — the arm is held by friction over the pad area, not by crushing the top — and it is how a laminate edge gets a permanent dent. Re-check after a week; a new clamp settles slightly and a quarter turn is normal. On a thin or soft top, spreading the load is better than tightening harder, which is why dual-clamp designs exist.
After the install: the desk you just got back
A monitor base uses eight to ten inches of depth. Once the screen is on an arm, that depth is available, and the mistake is to fill it with the same clutter that was there before. The order that works is in how to make a small desk feel bigger: keyboard down or under, storage below, light clamped rather than standing. If two screens and a laptop are involved, two monitors and a laptop on a small desk has the three configurations that fit.
One last check before you call it done: the rear edge of the desk is now shared property. A clamp lamp, a desk power strip and a keyboard tray all want the same inches, and planning them together beats discovering the conflict with the arm already installed. Our desk thickness guide lists what each category needs.