HUB 05 · Small-Space Setups
Cable Management Without Wall Damage
The tidy setups in photographs are usually screwed and stuck to somebody's wall. Here is the version that comes off cleanly when the lease ends.
We earn a commission when you buy through our Amazon links, at no extra cost to you. It never affects our rankings, and we say so when the cheaper product is the better buy. How this works.
Cable management advice almost always assumes you own the wall. Adhesive raceways up the baseboard, clips along the skirting, a hole drilled behind the desk — all excellent, all things a landlord will notice. The renter’s version follows one rule: route cables on the furniture, not on the building. Done properly the result looks the same, and it leaves with you.
The rule, and why it works
Every cable at a desk has three sections: the bit on the desk, the bit under the desk, and the run to the outlet. Only the third has any reason to touch a wall — and it usually does not need to either, because a power strip mounted under the desk turns twelve wall runs into one. Handle the sections in that order and the wall never enters the plan.
| Section | Goal | Renter-safe method |
|---|---|---|
| On the desk | Nothing loose on the surface | Hook-and-loop ties; route cables up the arm and lamp clamps |
| Under the desk | Nothing hanging or touching the floor | Clamp-on tray or a strip mounted to the desk underside |
| Run to the outlet | One cable, not twelve | A single strip cord, sleeved, along a furniture edge |
Step 1 — one power feed, mounted to the desk
The single highest-value move: get the power strip off the floor and attached to the desk, either with a clamp-on strip or a bracket that fixes a normal strip to the underside. Now every device plugs in above floor level, only one cable leaves the desk, and vacuuming stops being an archaeological dig. The strips and mounts are ranked in best power strips for a desk. If the desk top is too thick for a clamp, check the ranges in desk thickness: what will clamp to your desk.
Step 2 — bundle before you hide
Hook-and-loop ties every 8 to 12 inches turn five cables into one soft rope, which is most of the visual problem solved before anything is concealed. Reusable ties beat zip ties in a rental for a practical reason: you will add a device, and cutting zip ties off a finished bundle is how tidy setups become messy ones permanently. For runs that need to look finished, a neoprene sleeve wraps the bundle into a single tube. Both are in the desk cable management kit.
Step 3 — use the desk as the raceway
A clamp-on under-desk tray does the job an adhesive wall raceway does, without the wall. It holds the strip, the bricks and the slack in a channel nobody sees, and it comes off with the desk. Where a tray will not fit, adhesive clips stuck to the desk underside — raw timber or laminate, not paint — carry the same run at a fraction of the risk. The principle throughout: stick to your furniture, which you own or can sand, never to the apartment.
Step 4 — the last run, and the floor
One cable still has to reach an outlet. Three ways to make that acceptable without touching the wall:
- Follow furniture.Run it behind the desk leg, along the back of a bookshelf, behind a sofa — anywhere the eye does not go.
- Choose a flat plug and a long cord. A 0.3-inch flat plug lets furniture sit flush against the wall, and a 10-foot cord reaches the outlet you actually have rather than the one you wish you had.
- Cross a walkway on the floor, not the wall.If a cable must cross a path, a floor cord cover is the safe answer — a cable under a rug is a trip hazard and a heat problem, not a solution.
If you use an adhesive raceway anyway
Sometimes the wall run is unavoidable. Adhesive raceways are cheap, paintable and genuinely tidy — and they are the most common cause of paint damage in a rental office. If you use one:
- Test on a hidden patch first. Older, well-cured paint survives; fresh paint and cheap builder’s emulsion frequently does not.
- Keep runs short and straight. Every extra foot is extra risk at removal.
- Remove it warm: a hairdryer on low for thirty seconds softens the adhesive, then peel back on itself at a shallow angle rather than pulling outward.
- Clean residue with isopropyl alcohol on a cloth, not a solvent that attacks paint.
- Budget for a touch-up. It takes ten minutes and it is cheaper than a deduction.
The same removal technique applies to LED strips, adhesive hooks and stick-on shelves. What each of those can actually hold before it lets go is in what damage-free mounting can actually hold.
Standing desks: the drop loop
A sit-stand desk moves its whole surface up by roughly a foot and a half, and every cable has to survive both positions. Bundle all the leads into one sleeved loop that hangs in a U from the desk underside, long enough to reach full height with slack to spare, and anchor it only to the desk. Individual cables routed separately will snag, unplug or get trapped. More on what changes when the desk rises is in standing desk in a small room.
The move-out checklist
- Nothing adhesive on painted surfaces — or if there is, you tested and can patch.
- No staples, nails or screws in walls, baseboards or door frames.
- Power strip mounted to the desk, so it leaves with the desk.
- Ties are reusable, so the bundle can be undone rather than cut.
- Photos of the wall before you started, which settles arguments in thirty seconds.
Done this way the whole cable system is part of the desk, not part of the flat, and moving out takes twenty minutes. The gear that survives that move is listed in desk gear that survives a move.
Questions
Frequently asked
How do I manage desk cables without drilling or sticking anything to the wall?
Do adhesive cable raceways damage walls?
What is the best way to hide a power strip in a rental?
Can I run cables under a rug?
How do I keep cables tidy on a standing desk?
Are zip ties or velcro ties better for desk cables?
Finish the setup
Under $40: the parts that finish a small desk
A desk is the expensive decision. These are the cheap ones that decide whether it actually works in a small room — each is the top pick from one of our own roundups, and each clamps, sticks or stands rather than needing a drill. Prices live as of October 21, 2026.
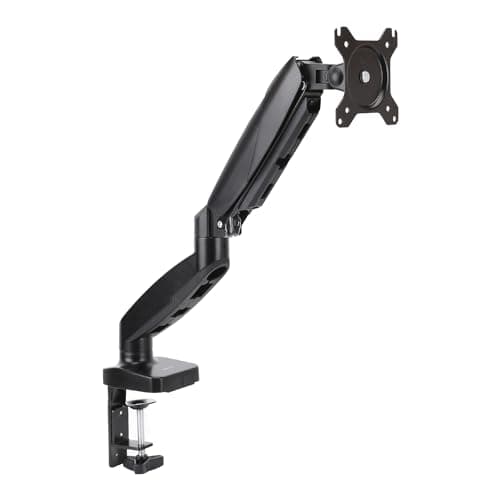
Monitor arm
Amazon Basics Single Monitor Arm (Gas Spring)
Clamps to the back edge and gives you back the whole footprint the monitor stand was standing on — the single biggest surface win on a narrow desk.
$27.29Amazon#ad · Our top pick in The Best Monitor Arms for a Small Desk
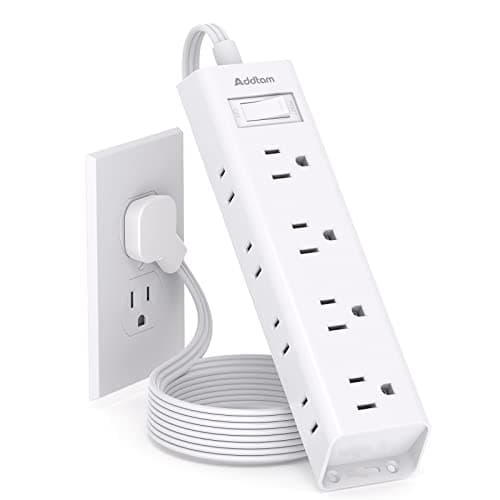
Power strip
Addtam Flat-Plug Power Strip (12 outlets)
The flat plug is the point: a normal brick stops a desk sitting flush to the wall and costs you two inches of depth you do not have.
$9.98Amazon#ad · Our top pick in The Best Power Strips for a Desk
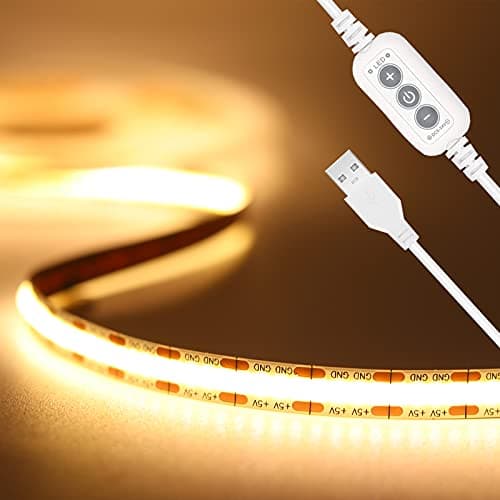
Bias lighting
PAUTIX COB LED Strip (6.56ft, 3000K)
Sticks under a shelf or behind the monitor and lights the wall instead of the desk, so it takes no surface at all.
$9.19Amazon#ad · Our top pick in The Best LED Strip Lights for a Desk
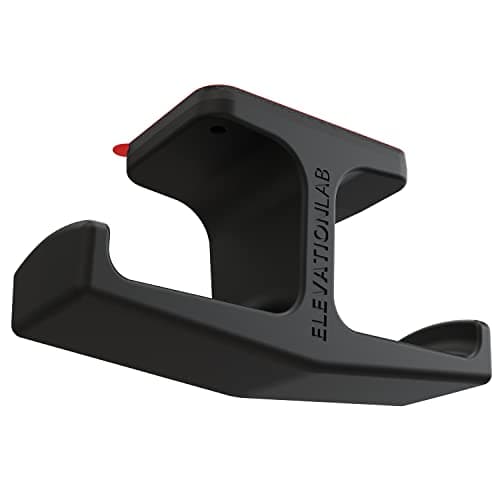
Headphone mount
Elevation Lab The Anchor Under-Desk Headphone Mount
Adhesive, mounts under the desk, and clears the one bulky object that otherwise lives permanently on a small surface.
$11.99Amazon#ad · Our top pick in The Best Headphone Stands for Small Desks
Under-desk drawer
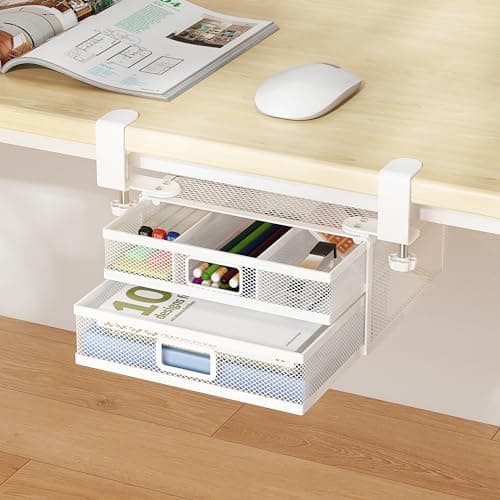
ROLIZOE 2-Drawer Clamp-On Under-Desk Organizer
Clamps on, adds storage in dead space beneath the top, and comes off without a mark when the lease ends.
$34.99Amazon#ad · Our top pick in The Best Under-Desk Storage for a Small Desk
Cable box
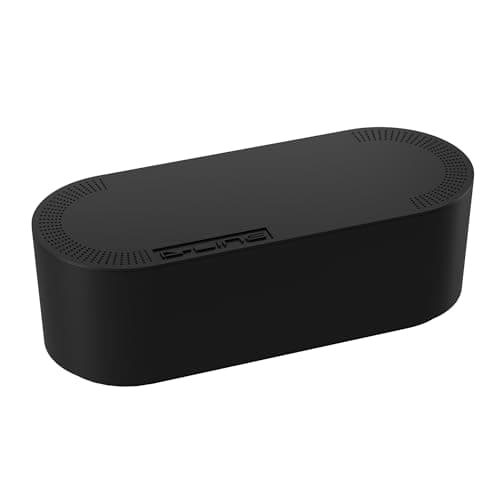
D-Line Cable Management Box (Large)
Puts the strip and the wall-warts in one closed box so the floor under a desk in a studio does not read as a nest.
$27.99Amazon#ad · Our top pick in The Best Desk Cable Management for a Small Setup
Desk organizer
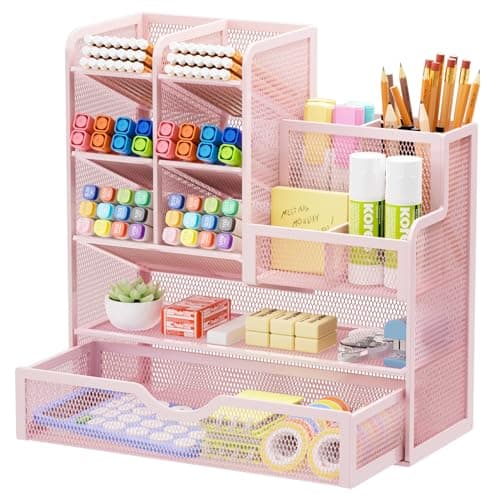
Marbrasse Mesh Desk Organizer with Drawer
Goes vertical with the pens and notebooks that otherwise spread flat across the only surface you have.
$22.99Amazon#ad · Our top pick in The Best Desk Organizers for Small Desks
Laptop stand
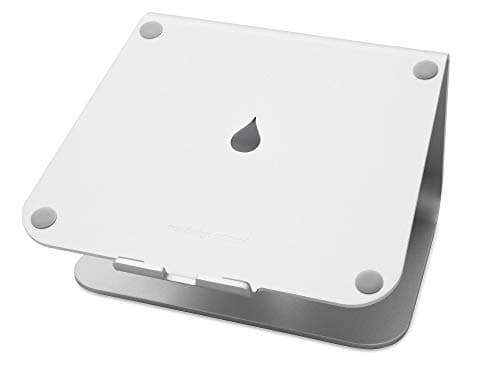
Rain Design mStand Laptop Stand
Lifts the screen to eye level and opens the space underneath for a keyboard, which is how a 40-inch desk fits a full setup.
$39.90Amazon#ad · Our top pick in The Best Laptop Stands for a Small Desk
Keep reading
Related
- Best desk cable management kitThe products behind this method, ranked.
- What damage-free mounting can holdBefore you stick anything to a rental wall.
- Renter-friendly desk setupThe whole desk on the same principle.
- Best power strips for a deskClamp-on and flat-plug options for step one.
- Desk gear that survives a moveWhat to buy if this is not your last apartment.
Receipts
Sources
- D-Line large cable management box — listing (16.5 × 6.5 × 5.25 in, click-lock lid, 3 rear cord slots)
- VELCRO Brand ONE-WRAP cable ties — listing (100-pack, 8 × 1/2 in, reusable hook-and-loop)
- Brainwavz under-desk power strip mount — listing (two-piece bracket, adhesive or screw mounting)
- Yecaye cord hider / cable raceway — listing (113 in total, 0.59 × 0.4 in channel, adhesive-backed, paintable PVC)
We do not run a testing lab, and we do not pretend to. Specifications come from the manufacturer or retailer listing; the footprint and clearance math is ours and reproducible. Where we could not verify a number, we say so on the page rather than quietly leaving it out. Read our full method.